3D Scan
By scanning a physical object, you can create a 3D digital model. Unlike traditional photography, however, you can use the digital model to return to the physical mode by sending the image to a 3D printer.
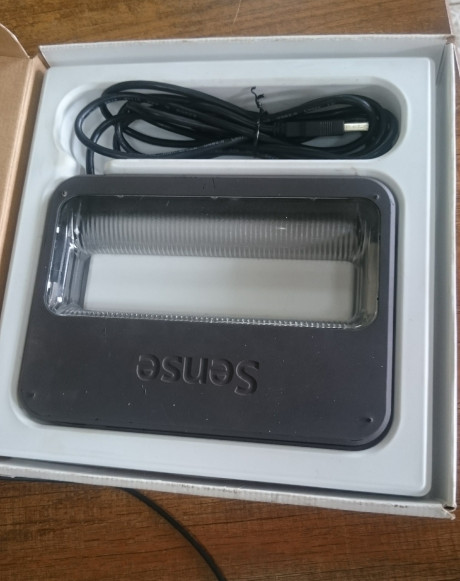
ITo use the scanner you need first to download a software application that can help you for scanning and saving an object. Here is the link for downloading software for sense scanner. (For Mac ) https://www.3dsystems.com/shop/support/sense/downloads
3D Systems Sense
3D Systems Sense is a free program that enables you to work with the Sense 3D Scanner. The program gives you the creative freedom to combine scans with other favorite designs
SCANNING BEST PRACTICES
Many practices that ensure good photography also apply to scanning. Your subject should be facing the light source in order to minimize shadows and enhance colors. Position your subject so that you have 360-degree clearance and can scan from all angles.
SCANNING PROCEDURE
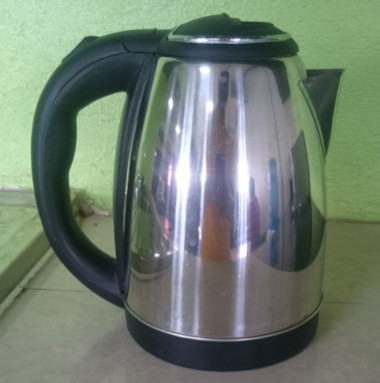
Using the Sense 3D scanner, you can scan people or objects. Select what to scan, an object or a person. If you select Object, choose the appropriate object size. For me I decided to scan a kettle available in my LAB. The details information for scanning an object are provided here. http://cubify.s3.amazonaws.com/Scanners/Sense/sense_userguide_mac.pdf
Scanned kettle
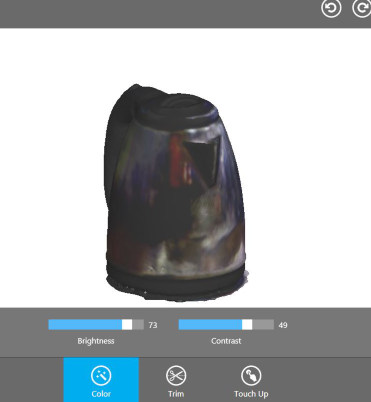
Here is the final result of the scanned kettle
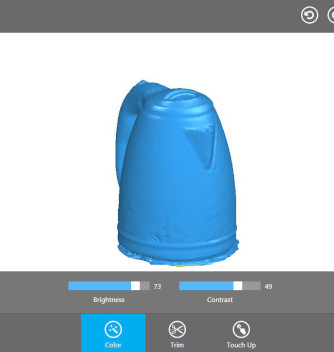
Once the scan is complete, the program processes all of the scanned data and gives you the 3D model. You can then edit this, cutting out the bits that you don't need, (such as the surface that an object was sitting on or other nearby objects) and smoothing the object.
The final step was to solidify the object, by filling in small parts that the scan misses, such as areas that are partially covered, or those that are too dark to be detected.
3D Printing
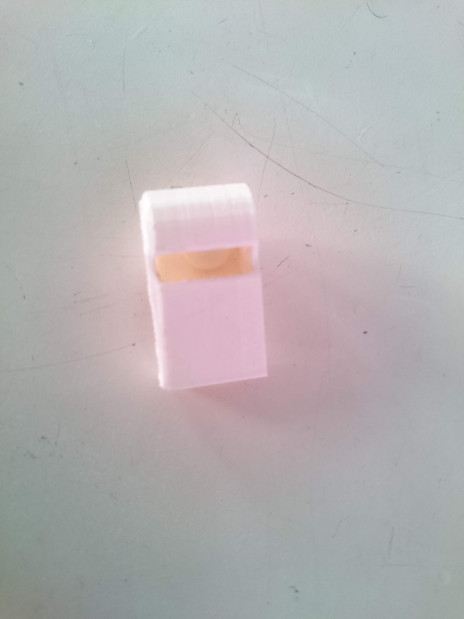
Assignment is to Design and 3D Print that could not be made subtractively. I designed a whistle with the help of the Solidworks software. SUBTRACTIVE is a process by which 3D objects are constructed by successively cutting material away from a solid block of material.
In this asignment, I designed a whistle, which is consided as a simple substractive and userful gadget.
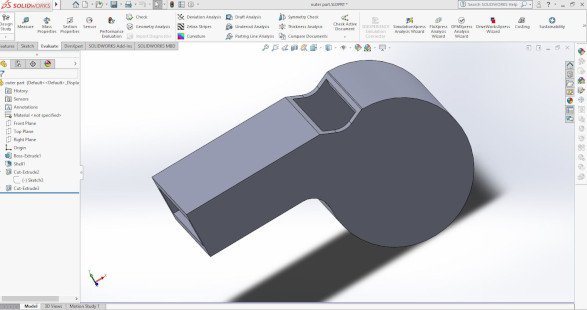
Normally, the cork ball is inserted in the whistle. Once inside, the cork returns to its original shape, making it too large to fall out through the slot. When air and the cork ball collide, it produces the familiar trilling effect. It’s not easy to make it using subtractively way.

Three stages of 3D printing:
- Modeling
- 3D file export
- Slicing file export
- The ball is not smooth enough which make it difficult to rotate inside the whistle.
- The symmetry cut-plane reveals that all the air blown into the whistle leaves through the large opening before entering the chamber, and even before hitting the opposite edge.
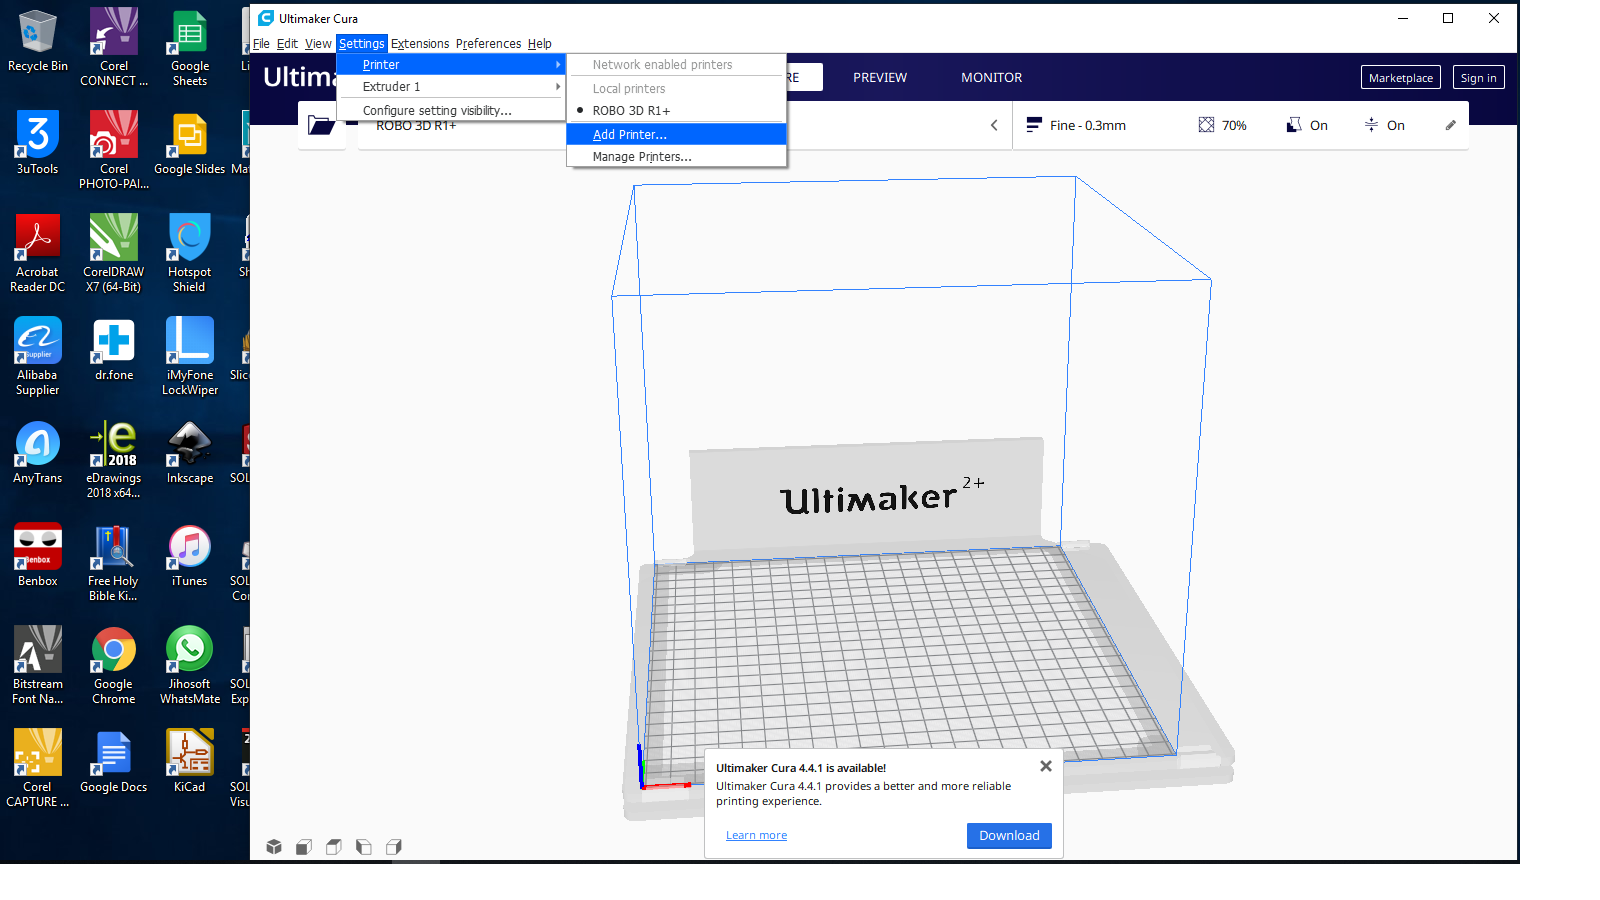
Preparing a print with Cura
Ultimaker Cura is slicing software for 3D printers. It takes a 3D model and slices it into layers to create a file known as G-Code, which is the code that a 3D printer understands. After the Designing , I used Ultimaker cura software to slice my 3d Model. Once you have created your model, it then needs to be exported as either an STL, OBJ or 3MF file. These are the file formats that are recognized by Cura. I used STL file because the STL file format has been adopted and supported by many other CAD software packages, and today is widely used for rapid prototyping, 3D printing, and computer-aided manufacturing.
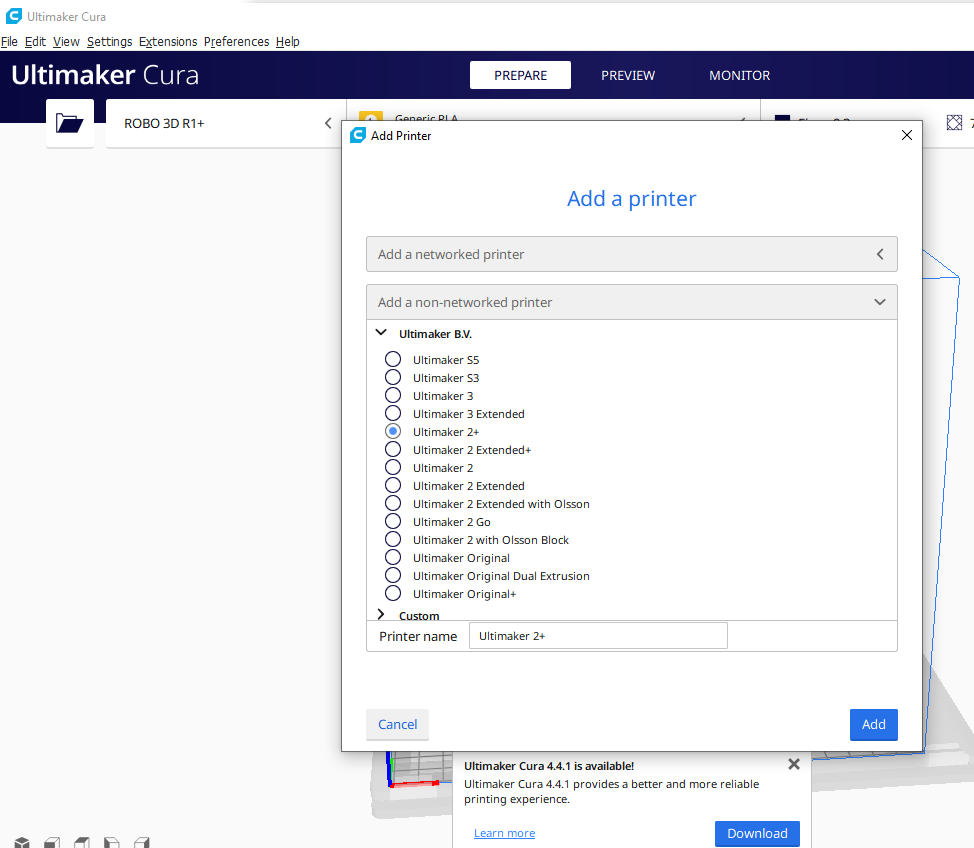
After adding the Ultimaker 2+ in Cura, the main interface will become visible. Here is an overview of the interface.
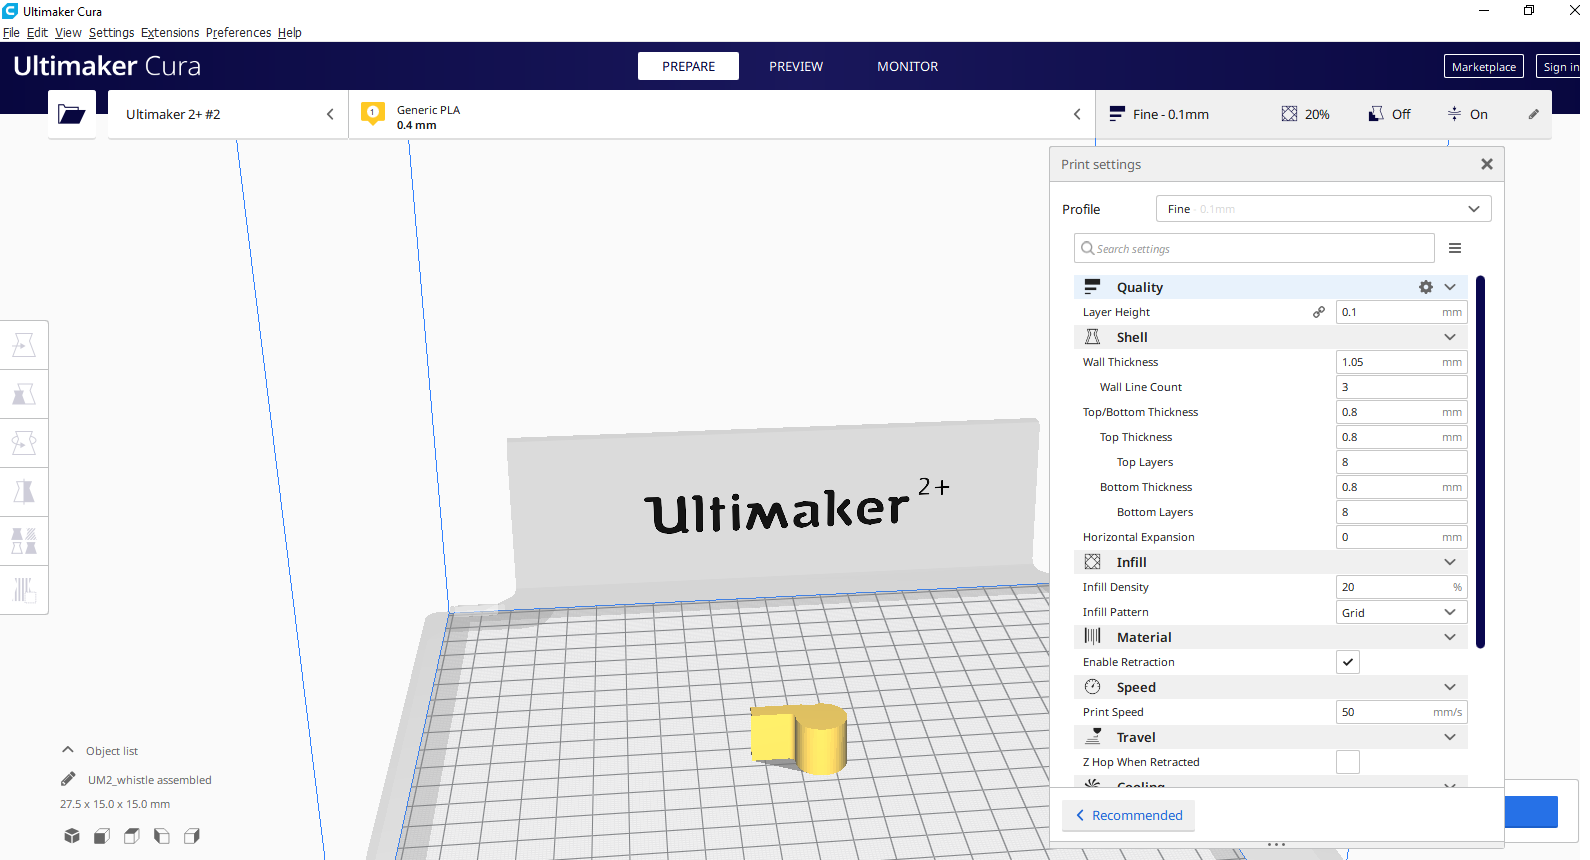
Slicing file export
The STL file I created is then imported into the Cura software where it is sliced and output as G-Code. This G-Code is just a text document with a list of commands for the 3D printer to read and follow such as hot-end temperature, move to the left this much, right that much etc..
Over on the right side of the page you'll see you can adjust the layer height, which affects the print speed. If each layer is 0.06mm your model will take longer to build than if each layer were 0.1mm (the default). The smaller the layer height the better the quality; the larger the layer height the lower the quality but the faster the print.
As a first step the model that you want to print must be loaded into Cura. This can be done in several ways:
Use the “Open...” button in the top left corner of the screen
Go to “File” > “Open”
Select the file on your computer and select “Open with” Cura
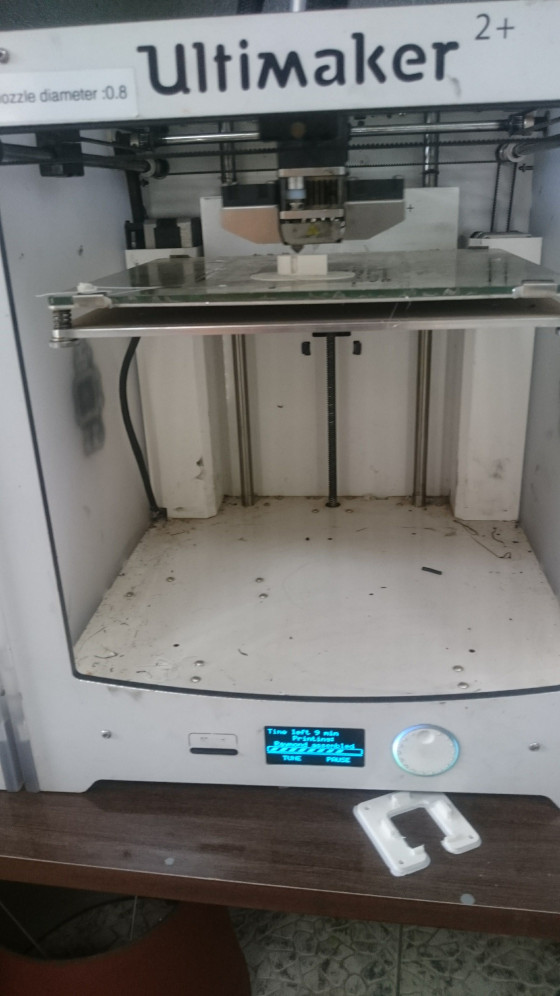
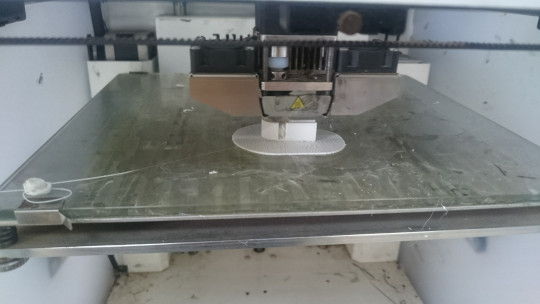
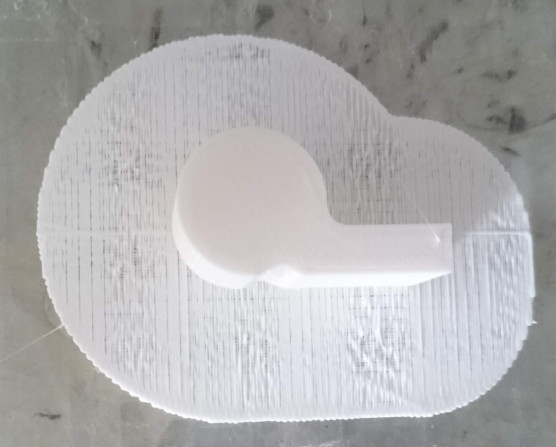
Drag the file from your computer into Cura. Cura will save to your computer a .gcode file that will be recognised by your printer as a set of instructions for recreating that model in 3D. You can now transfer this file to the printer and select it for printing. I used Ultramaker 2+ to print my whistle. It print the ball inside the whistle in one shot, and without any support material in it. The whistle size is 20x30x20mm, it only takes 38 minutes to print out my whistle. After printing, the next step is to break it after printing with a small tweezers or other tools. Here is the final result. unfortunately, it did not because of two reasons: 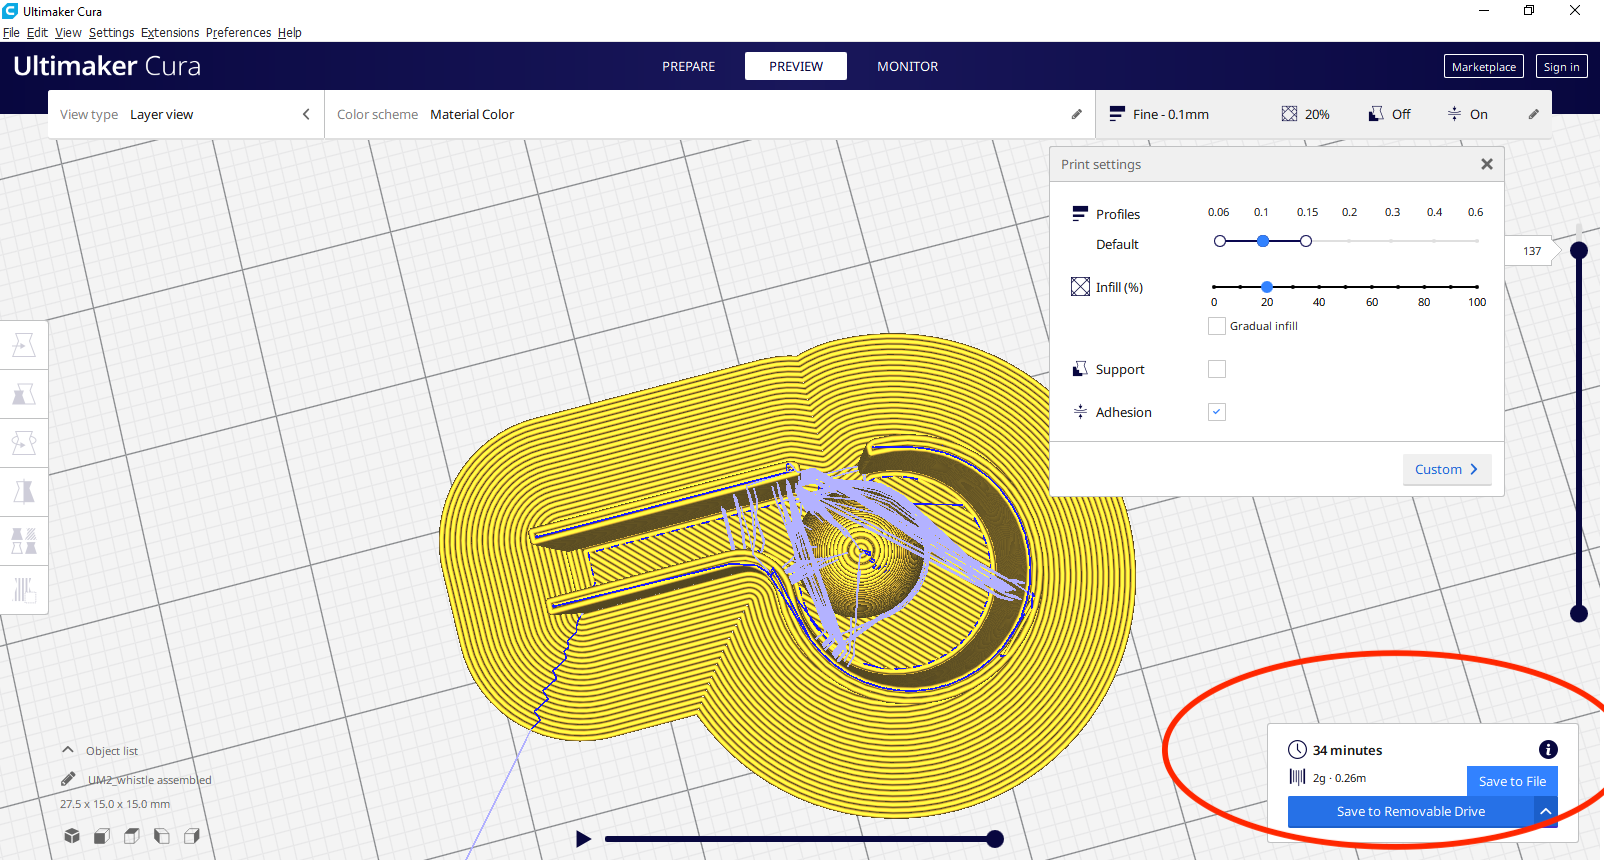
Used files
Download link